Gourd harvest. Here is my tip for drying/curing them.
 Jungle Jane
Posts: 21
Jungle Jane
Posts: 21
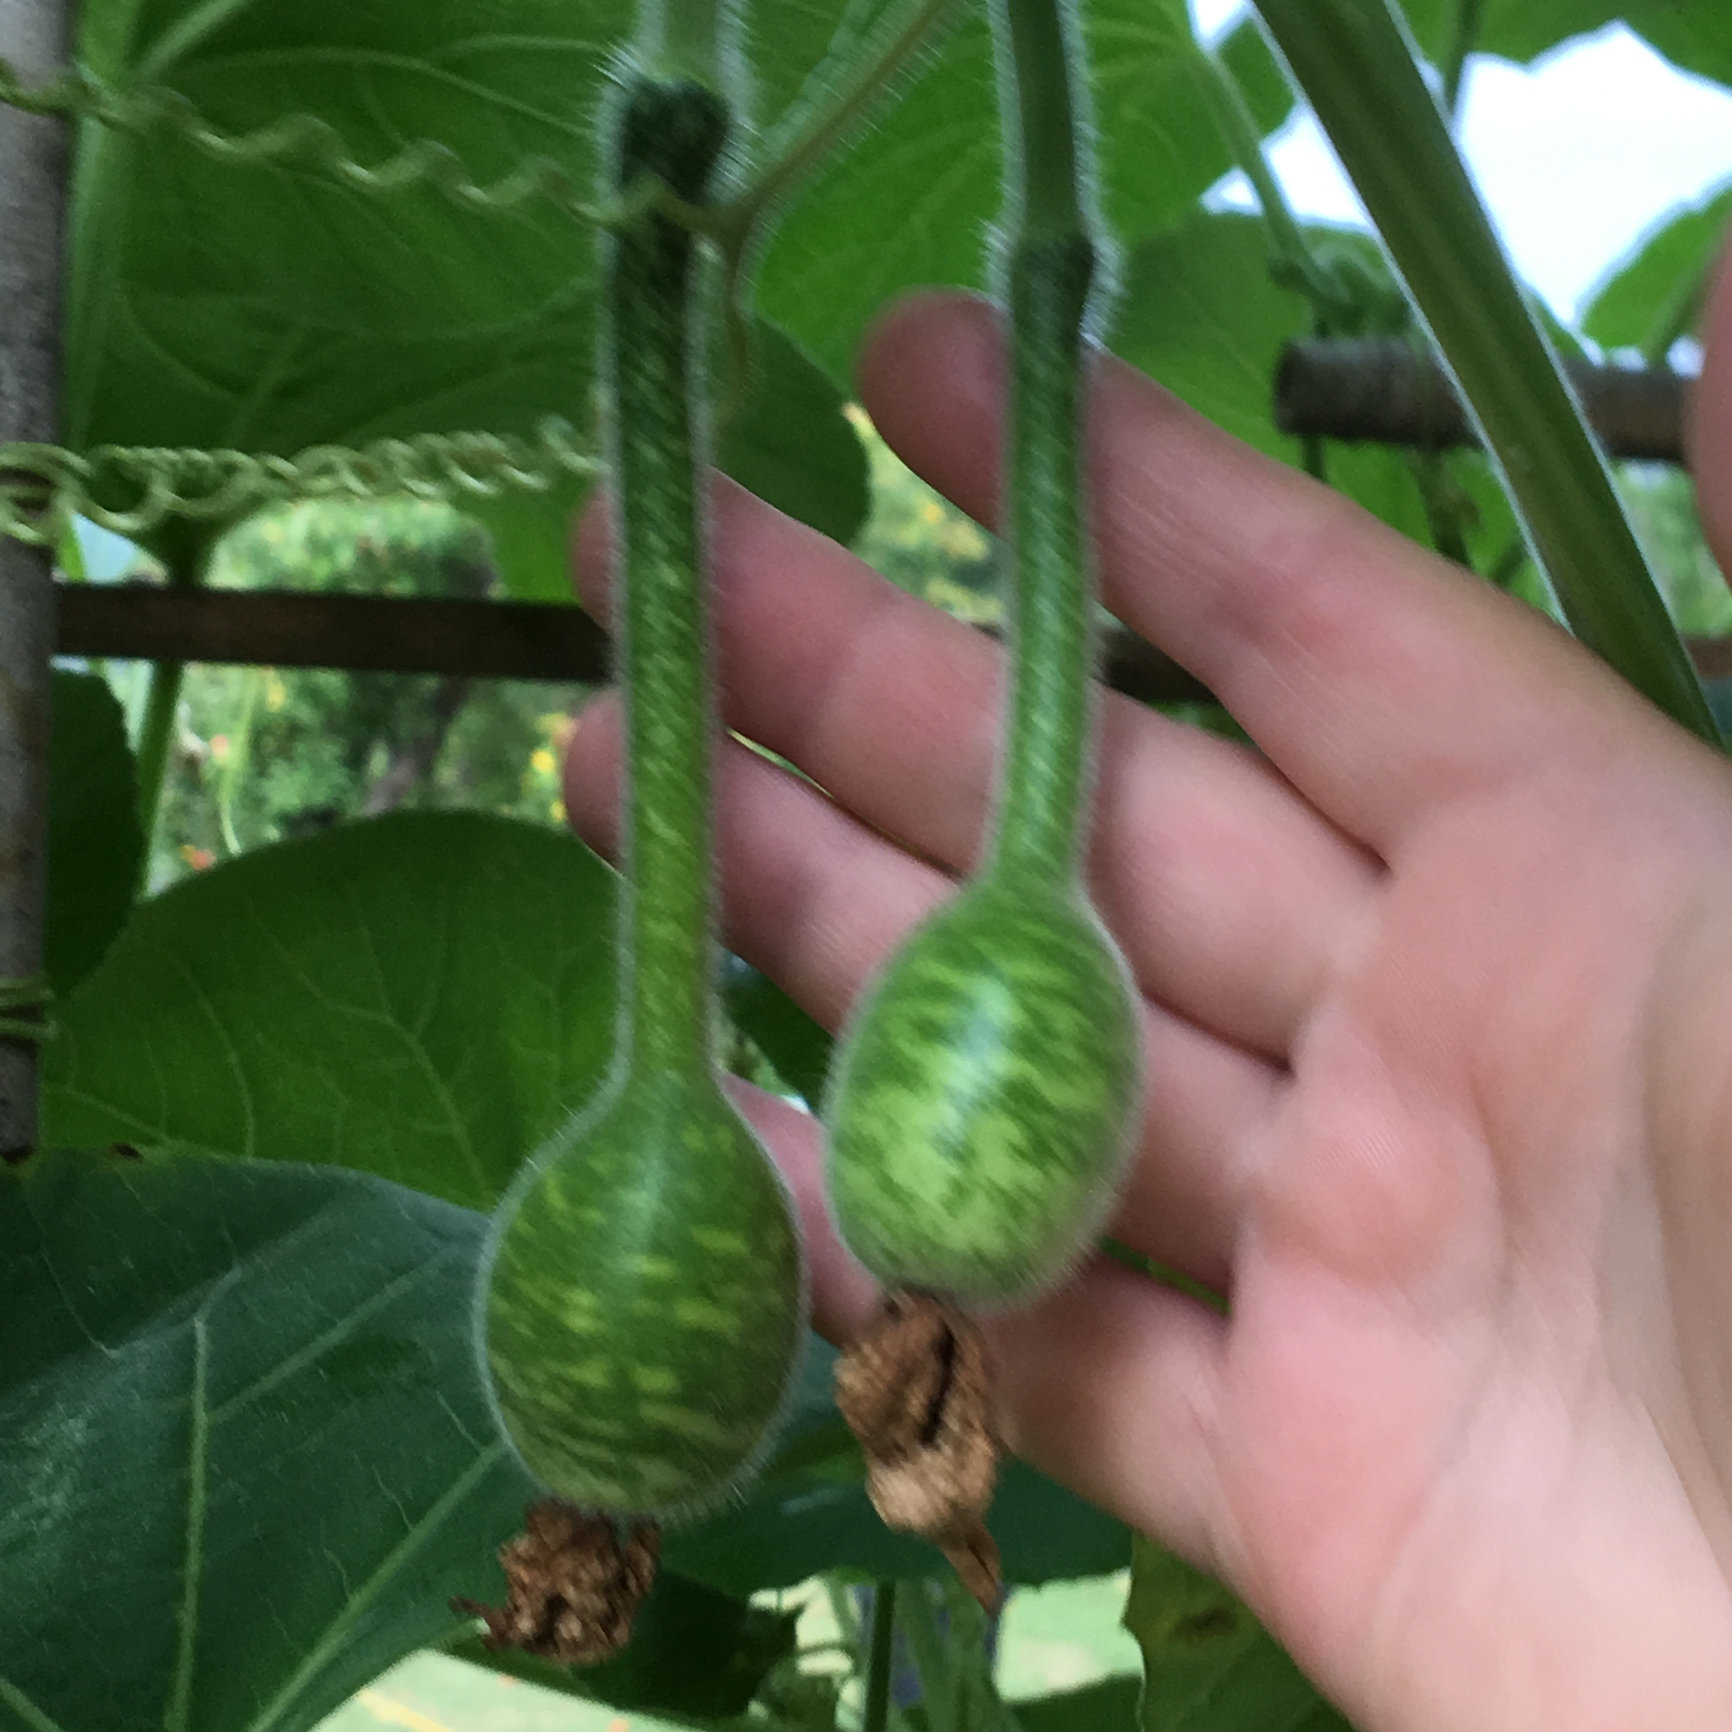
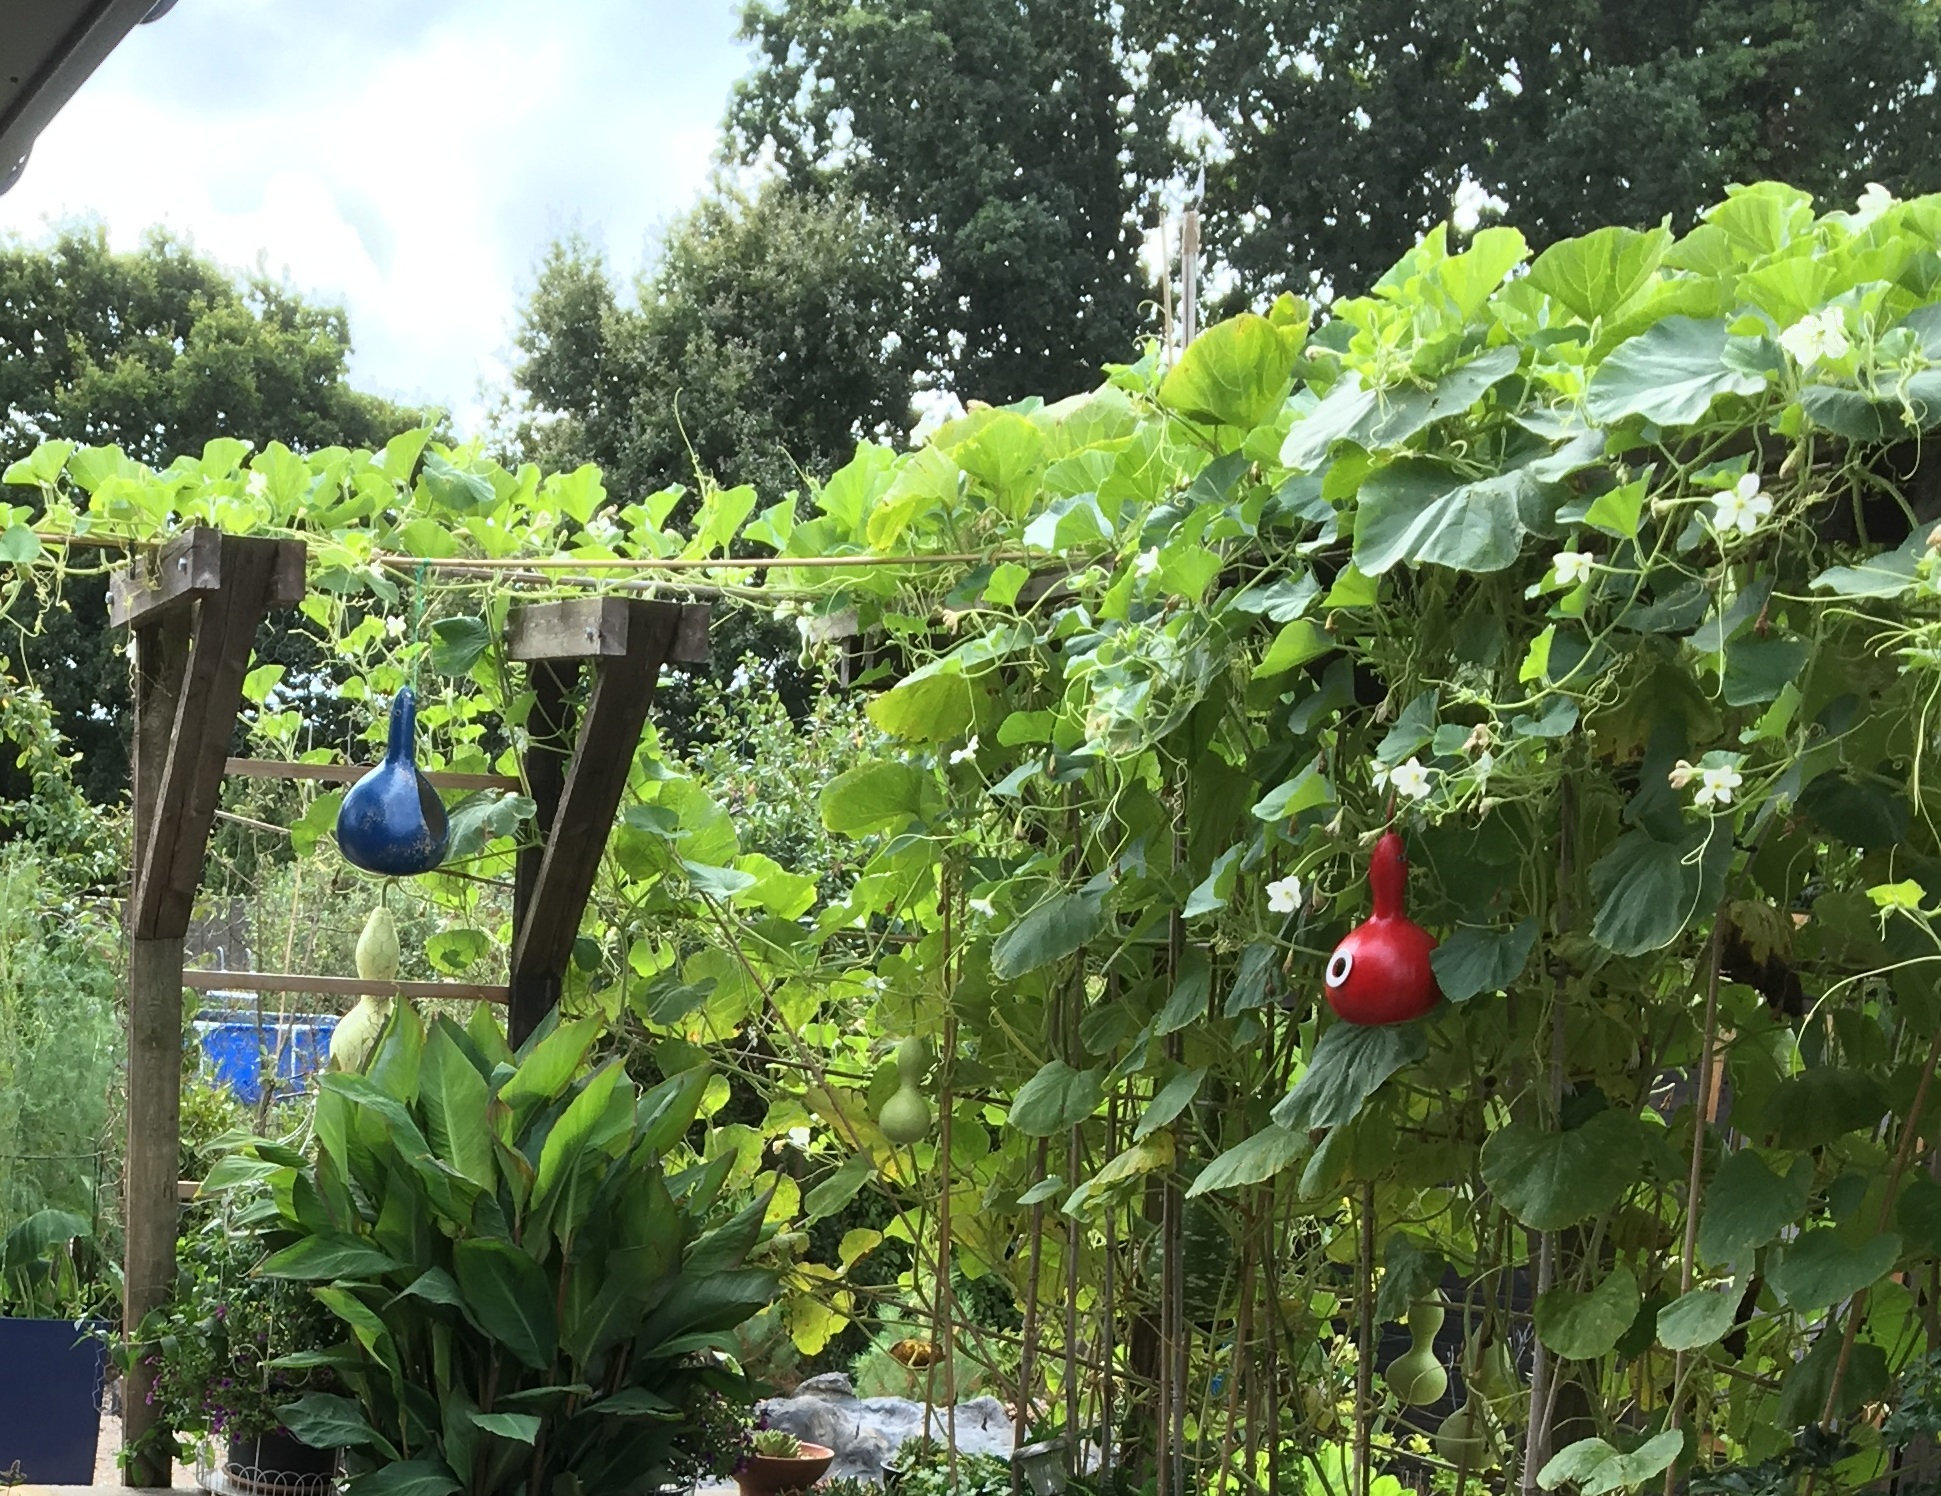
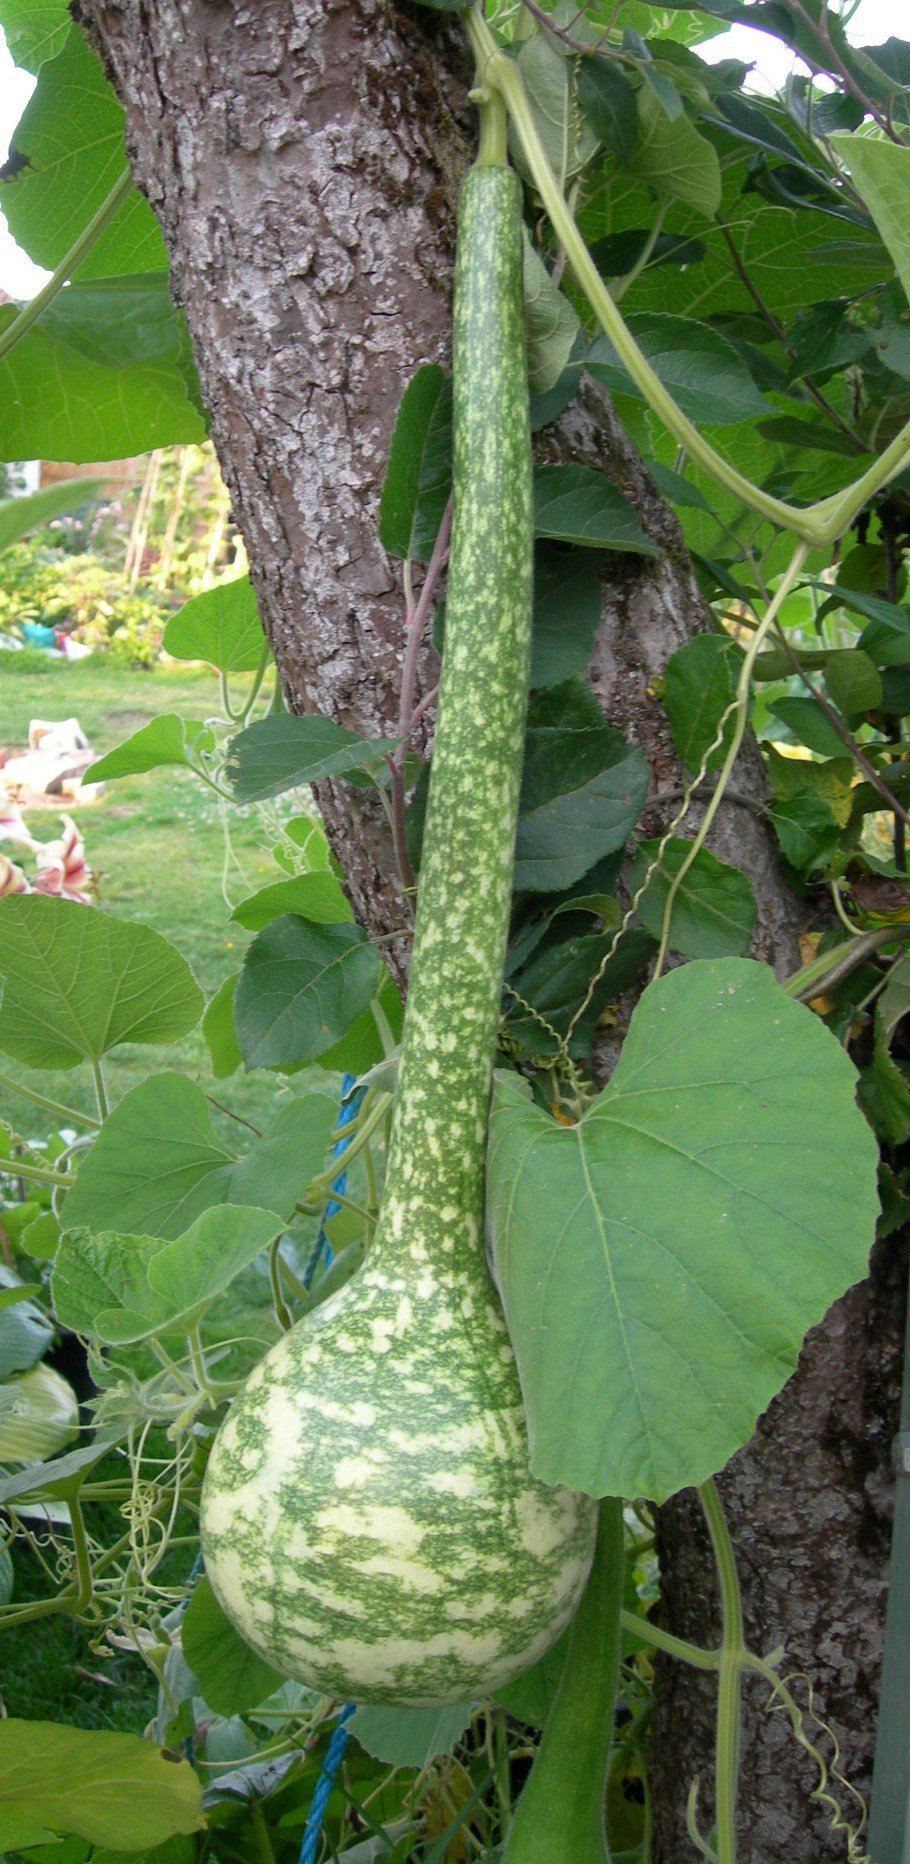
It’s hard to believe the little baby gourds above left will grow to be
over a metre long and weigh several kilos when mature. The photo above right show the vine in full leaf with some of my crafted bird boxes intermingled.
Here, on the East Sussex coast, it's approaching harvesting
time for my gourds. This year, I have what I think is a good show of gourds to
be able to demonstrate the processes of harvesting and curing for anyone who is
interested in giving it a go. The vine has shed almost all its foliage (photo
taken 16/09/18)


and is looking less attractive than when it was in full
leaf. The gourds however are quite
literally hanging on in there and although the vine is dying back, the tough
branches are more than capable of supporting the gourds, some of which weigh
several kilos, well into autumn / early winter and they can even stand up to
the strongest of winds. Some people might be tempted to pick the gourds now but
I can tell you from experience that the longer you leave them on the vine, the
greater their chances of surviving the curing process will be. By leaving them
on the vine, this allows them to dry out naturally and more efficiently than
putting them in a dry shed over winter. I harvest mine only when risk of frost
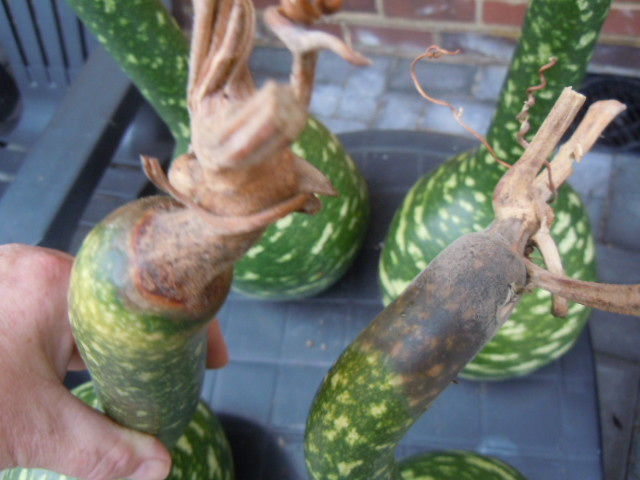
is forecast. When you harvest them, be sure to leave 2 or 3 inches of stork on
the gourd as this makes handling them much easier when you get round to
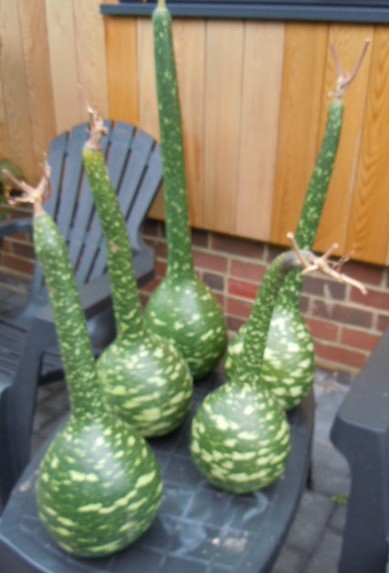
cleaning and crafting them. Photos below show some of the gourds on 7/10/18, the day they were harvested. In the far right photo you can see the top of the gourds have darkened and are starting to dry out, or to use the correct term, cure.

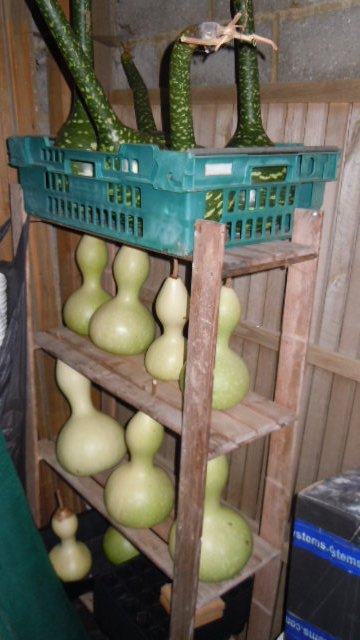
The next challenge is how and where to store them over winter, as suitable space can often be an issue. These babies are big, my dipper gourds are about 1mtr long, and therefore require a great deal of space, somewhere frost free and airy. They need to be stored in a place that will not be frequented by humans or animals as the mould growth during the curing process gives off spores that can be a respiratory irritant. There are various methods of storage but what you choose will depend largely on what space you have available. They can be laid spaced out on a shelf but will need to be turned every now and then or they can be hung up in mesh onion sacks (one sack per gourd) or they can be stored in large plastic stacking bread crates, the kind used by supermarket for bread. Whichever storage method you choose, just ensure it is frost free and has good air circulation around each gourd. The photo below show my gourds in winter storage.
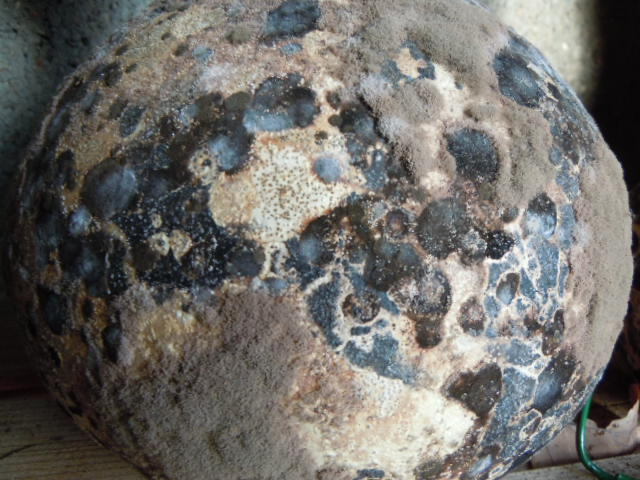
As the months go by the gourds will take on a whole new
look and will develop a coat of mould. This is quite normal, however the mould can
quite easily be mistaken for rot and result in the gourd being thrown away,
something I did in my first year of growing them. That said, sadly you do lose
the odd one to rot no matter how accommodating you have been in the storage
process. Every now and then feel the gourds with your bare hands, they should
be very firm to the touch, if any are soft and mushy in parts, discard them
immediately. The gourds will also become
much lighter and will weigh a fraction of their harvested weight by the end of
the curing process. Depending on size and weight, the curing process can take anything
from 6-12 months, or more in some cases. Almost 11 weeks after harvesting, the photographs below show the gourds are now taking on a whole new look,with the curring process well underway.

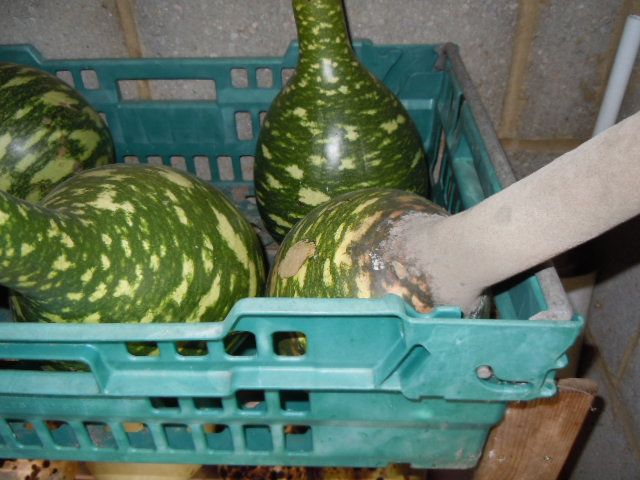
Some gourds appear to cure much more quickly that one of equal size and shape. This could be due to the position of the gourds when they were on the vine, some getting more sun than others and therefore drying out sooner than others.
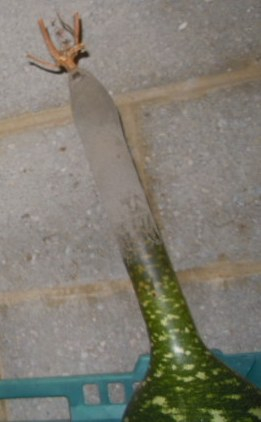
It's now 2nd Feb 2019 and the gourds are covered in fine downie mould. As afore mentioned, the mould spaws are not good for the respiritory system, so do protect yourself against inhaling the spaws.

You will know when your gourds have finished curing as
you will hear the seeds inside rattling when you shake them. Now your gourds
are ready to be cleaned using wire wool or a plastic scouring pad and a bucket of tepid water with dish soap added. It is very important at this stage of the
process that the shell of the gourd is meticulously cleaned as any residue left
on the shell, be it mould or dish soap, will affect adhesion of paint, ink, glue etc when you come to
crafting it. After cleaning, put your gourds somewhere to dry and keep them stored in a dry place until you are ready to have some fun crafting them. At this point it's worth mentioning that you can get a very pleasing pattern on your gourds as a result of the mould and all you have to do it varnish it.
You can also keep the seeds for future planting or as give-a-ways to family, friends and schools.
My next post will cover cleaning and crafting gourds, so watch this space.
Posts
The ones grown this year are in the GH and some are beginning to go mouldy.
You must be doing something right to get a crop in Lancashire. Is this the positive side of climate change perhaps? I grow mine on a cantilever pergola that runs the length of my patio. As well as giving the gourds something sturdy to support them, the vine also gives some much need shade in the summer. One year when I had a glut of young plants, I grew them in a very large pot and trained them up a mature apple tree. Visitors were amazed to see these meter long gourds high up in the tree. They said it was like something from outer space. I just love to see the surprise on people’s faces. I also discovered the gourds we grow in the UK do not get as thick skinned as they do in more tropical climates because our summers are just not long enough. Our gourds maybe more delicate but we can still have some fun crafting them.